# Workflows
# Create a workflow
Creation of a workflow is ideally the resposibility of a Developer persona.
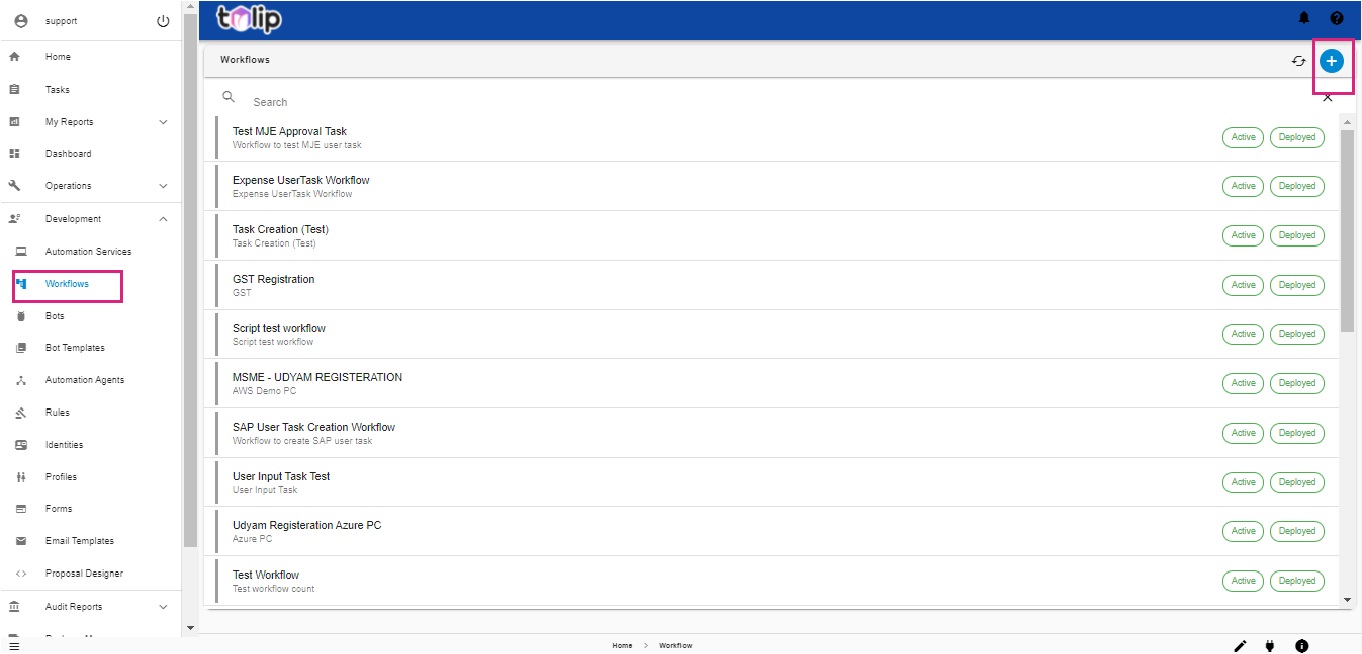
Under Workflows in Development, click on the Create option on the right corner.
The first step is to design the Workflow in the Workflow Designer window. If you have an already designed BPMN file, please drag and drop or upload. Else create a design by clicking on the Create option at the right end of the page. Here is where you include Bots and Hives.
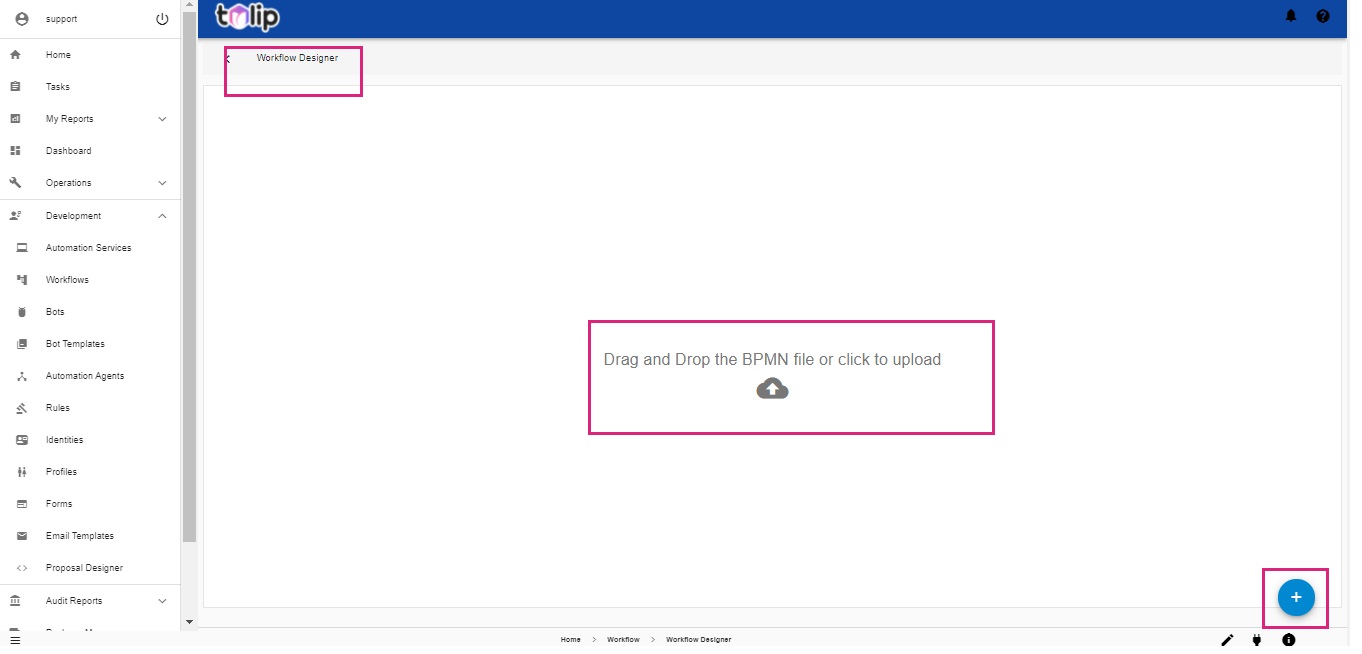
To know in detail, click here
# Fill details of workflow
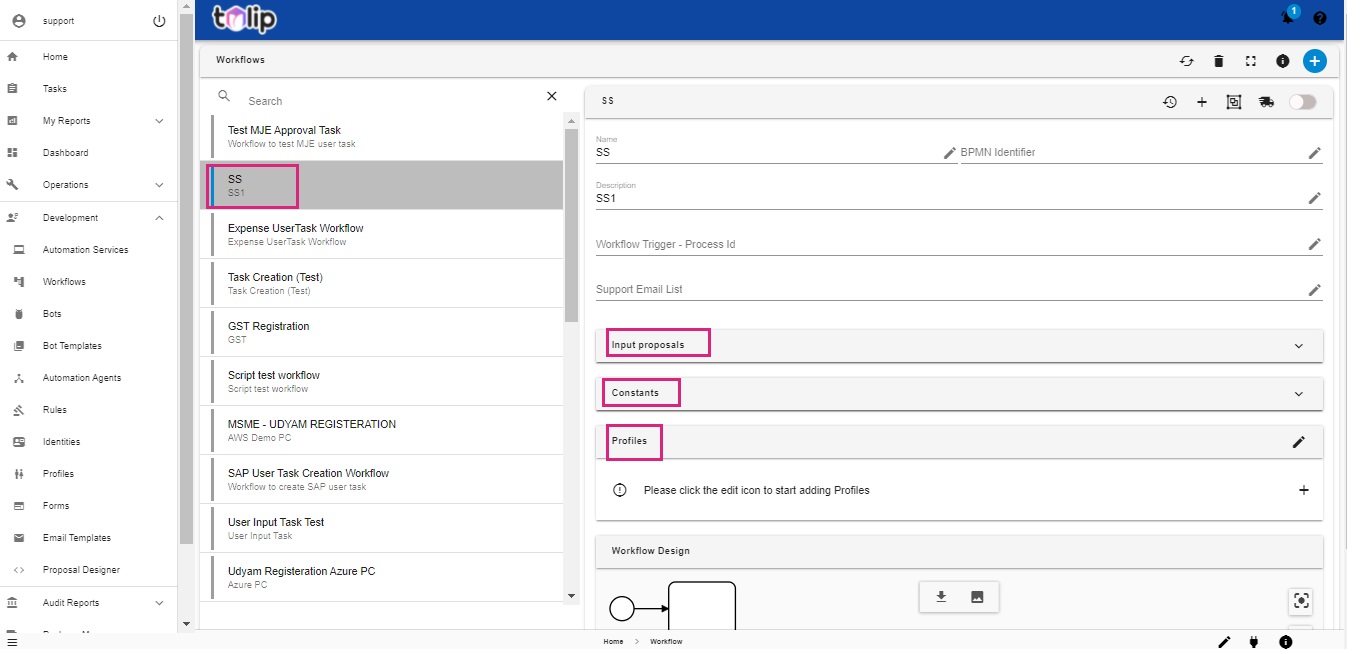
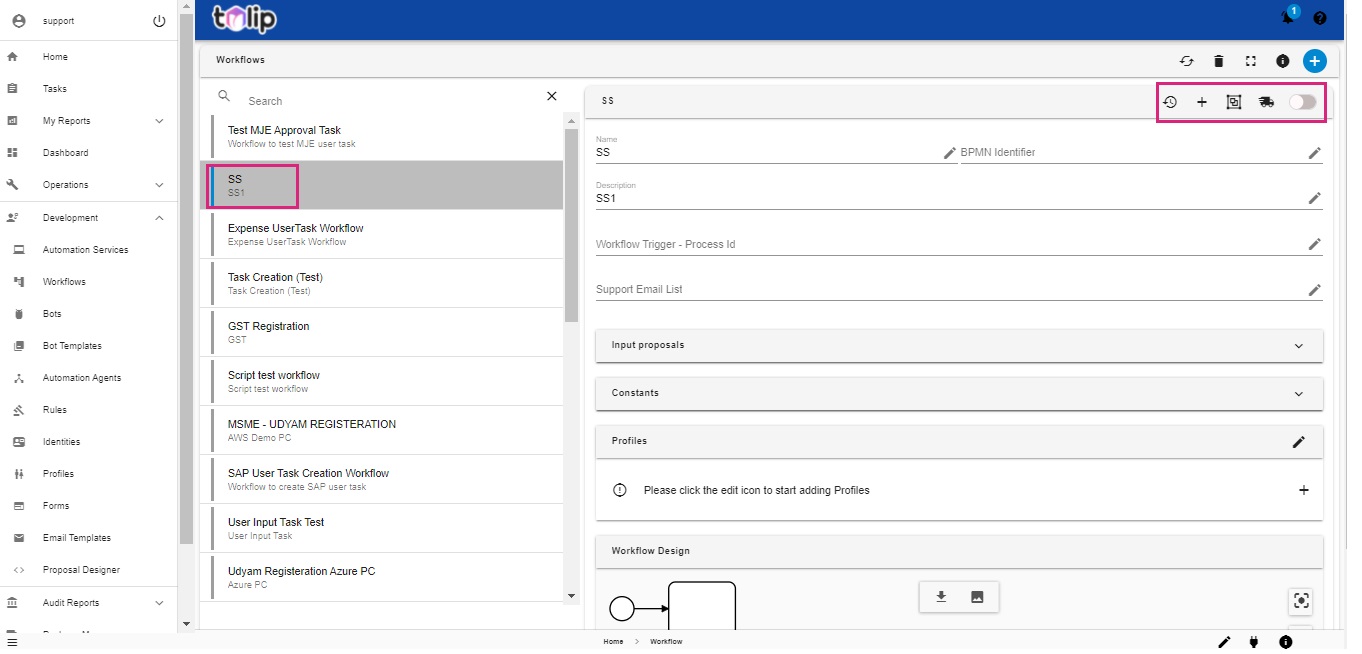
Once the design is completed, give the workflow a name and description and save it. Now you can view the workflow in the list of workflows.
Select it and fill in the properties. Input proposals, Constants and Profiles can be set up by clicking on the respective Edit options.
Use the buttons on the right top corner to first activate the workflow (the white toggle option). Next Deploy the workflow by clicking on the button next to the white toggle button.
Note: You can now trigger or schedule this Workflow from the Dashboard. Know how
# Convert to Automation Service
Finally register as an automation service by clicking on the + button. Congrats! The workflow has been registered as an automation service. Now you can activate the Automation Service to experience the functionality.
# Design in Workflow Designer
To design in the Workflow Designer, it is essential to know about a few components.
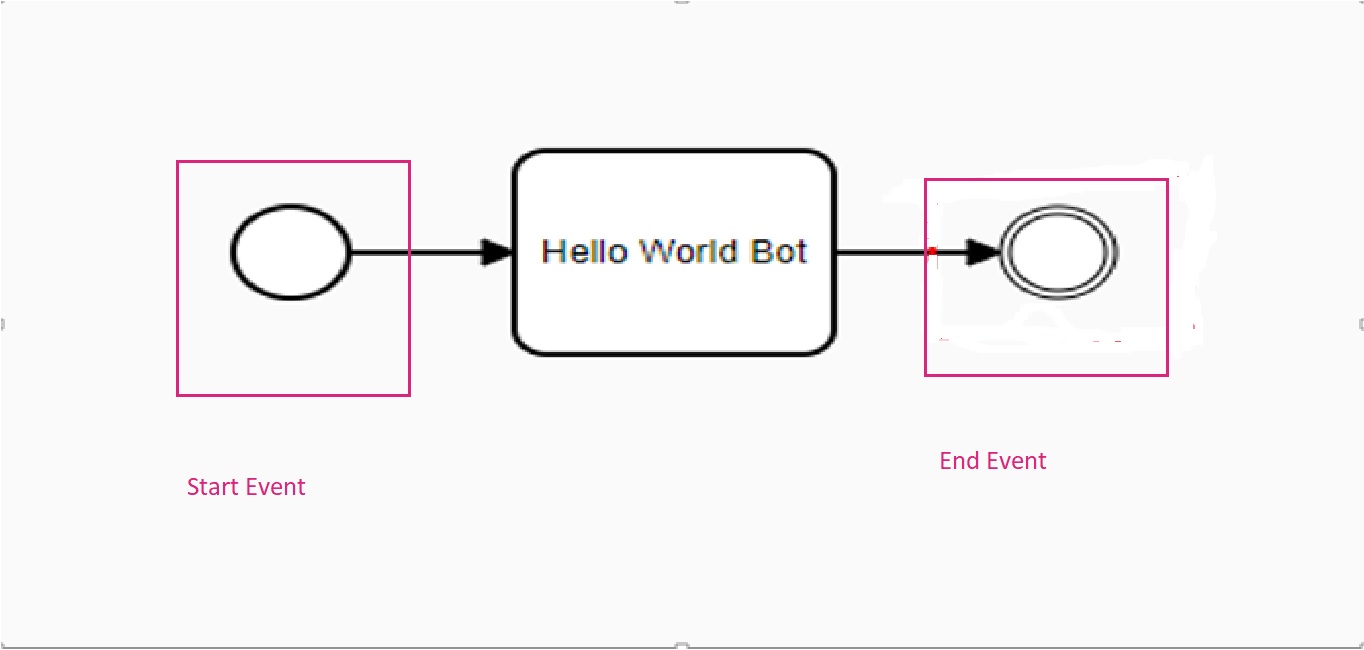
- Start Event: This is the starting point of the workflow creation or execution
- End Event: Last component of any workflow which marks the end of the workflow
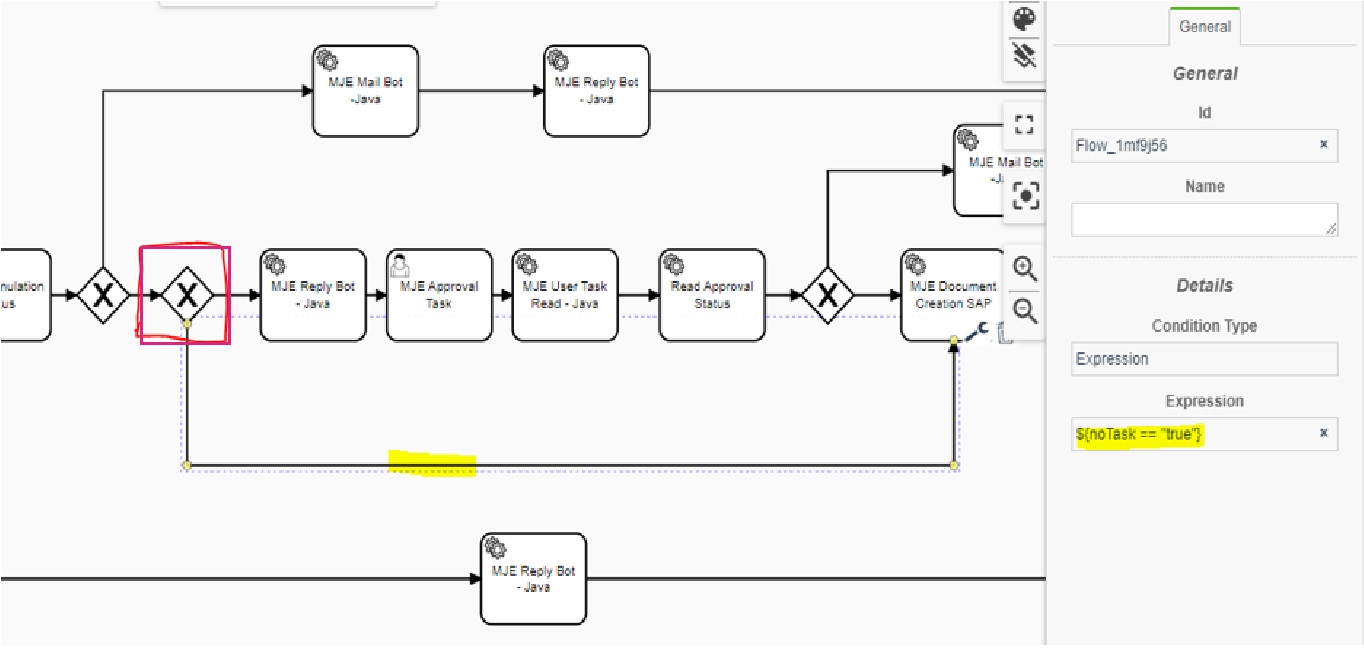
- Decision: This helps the workflow execution to decide which will be the next step based on the expression evaluated
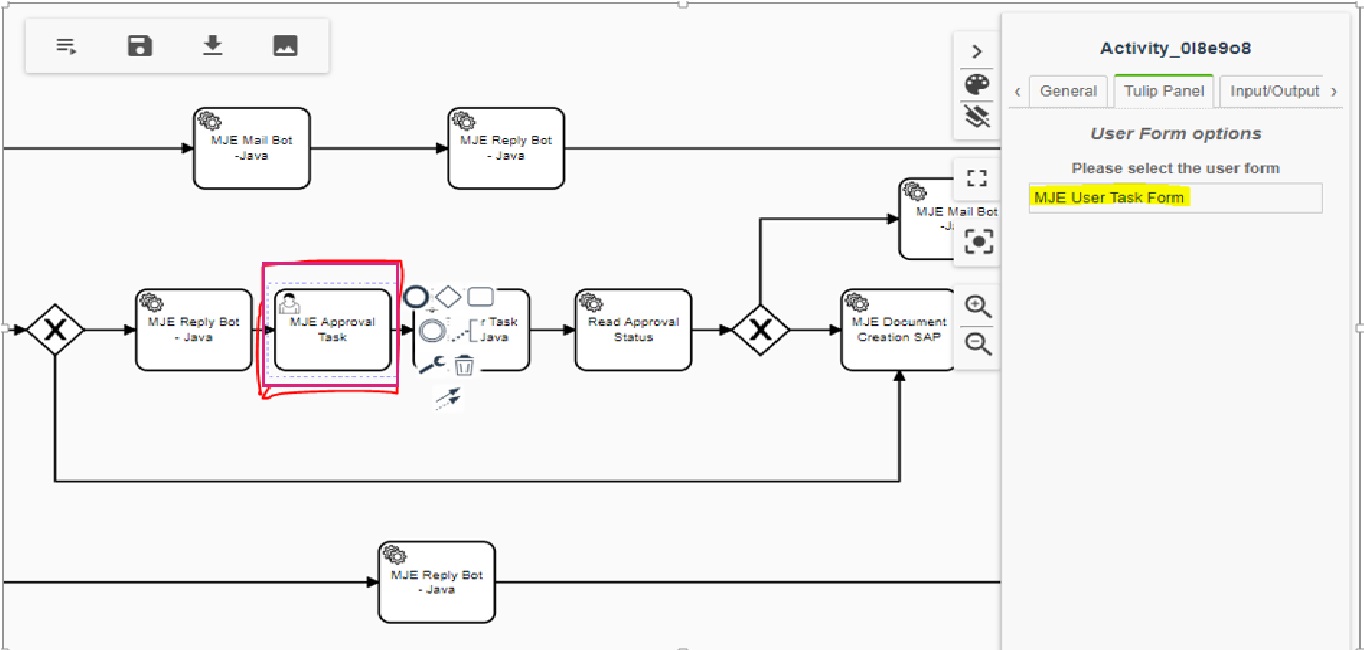
- User Task: It helps in getting either the input or approval from the user during the workflow execution. Need to assign the forms in the “Tulip Panel” of the user task component
Service Task:
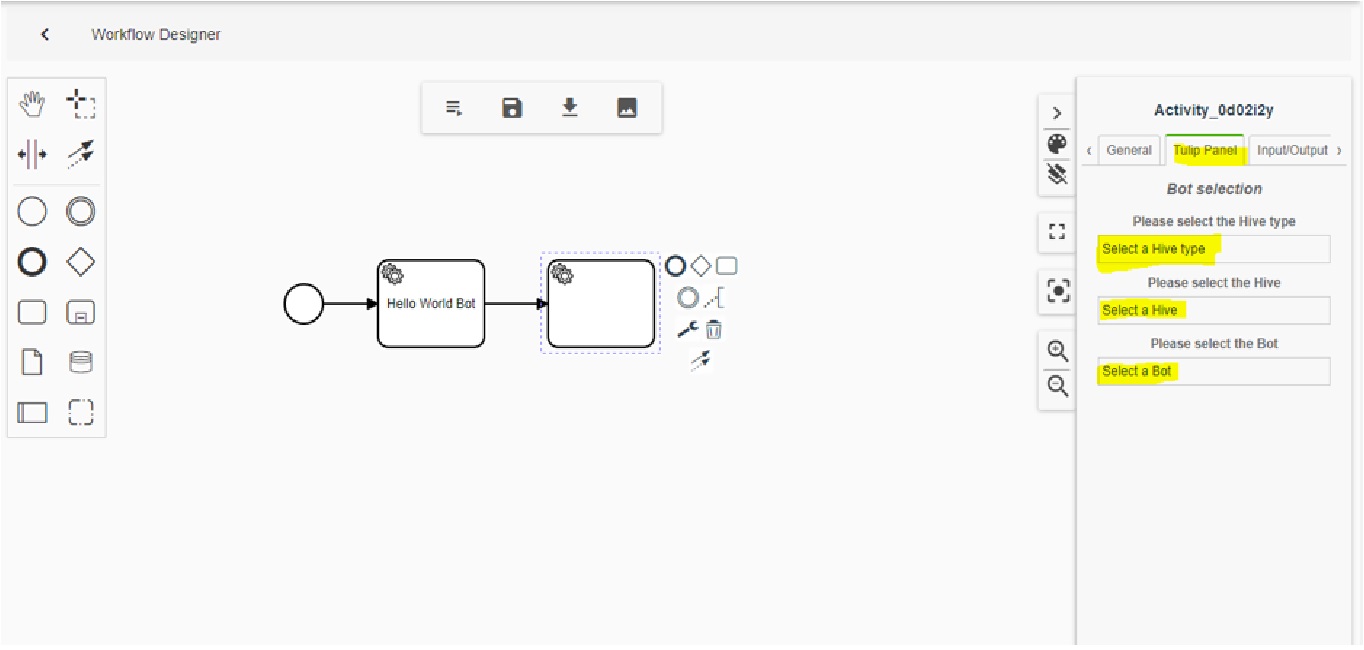
Bot: This helps in assigning the bot to the workflow
Step 1: Choose the “Bot” from the “General Panel”
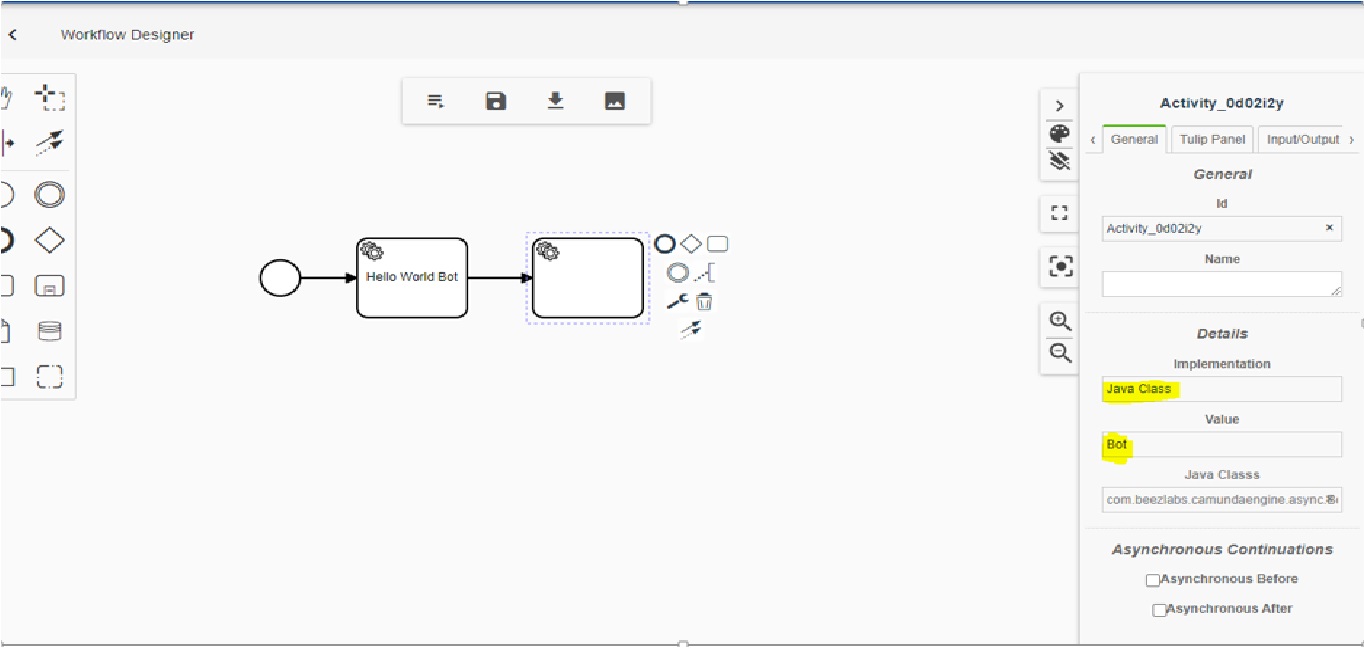
Step 2: Select the necessary Hive Type, Hive and Bot from the Tulip Panel
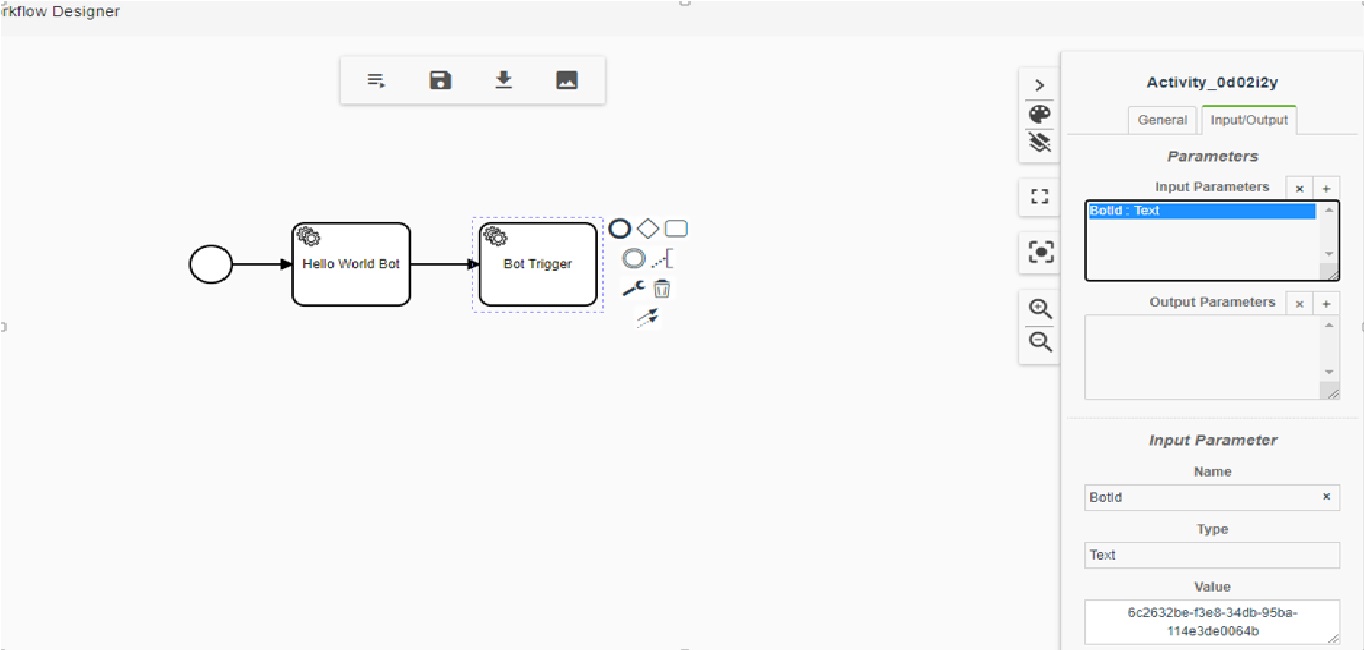
Bot Trigger: This helps in triggering a bot in the workflow using the “Bot Id”
Step 1: Choose the “Bot trigger” from the “General Panel”
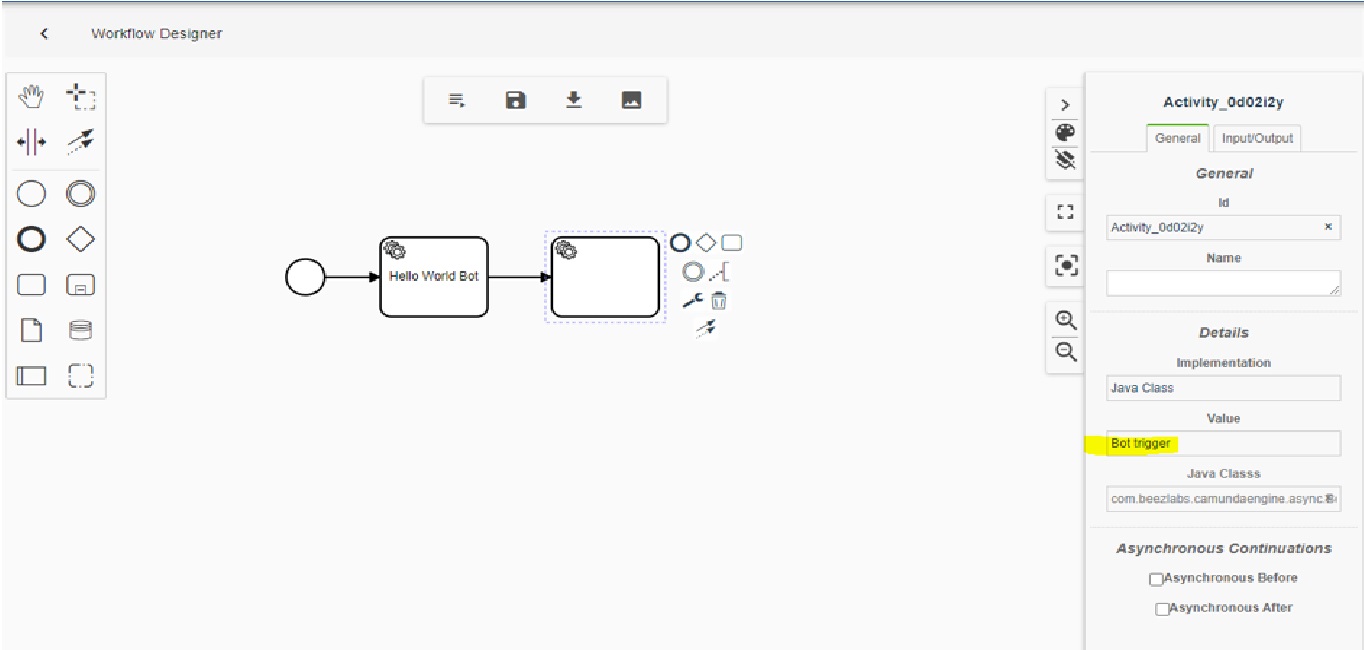
Step 2: Assign the Bot id in the Input/Output panel
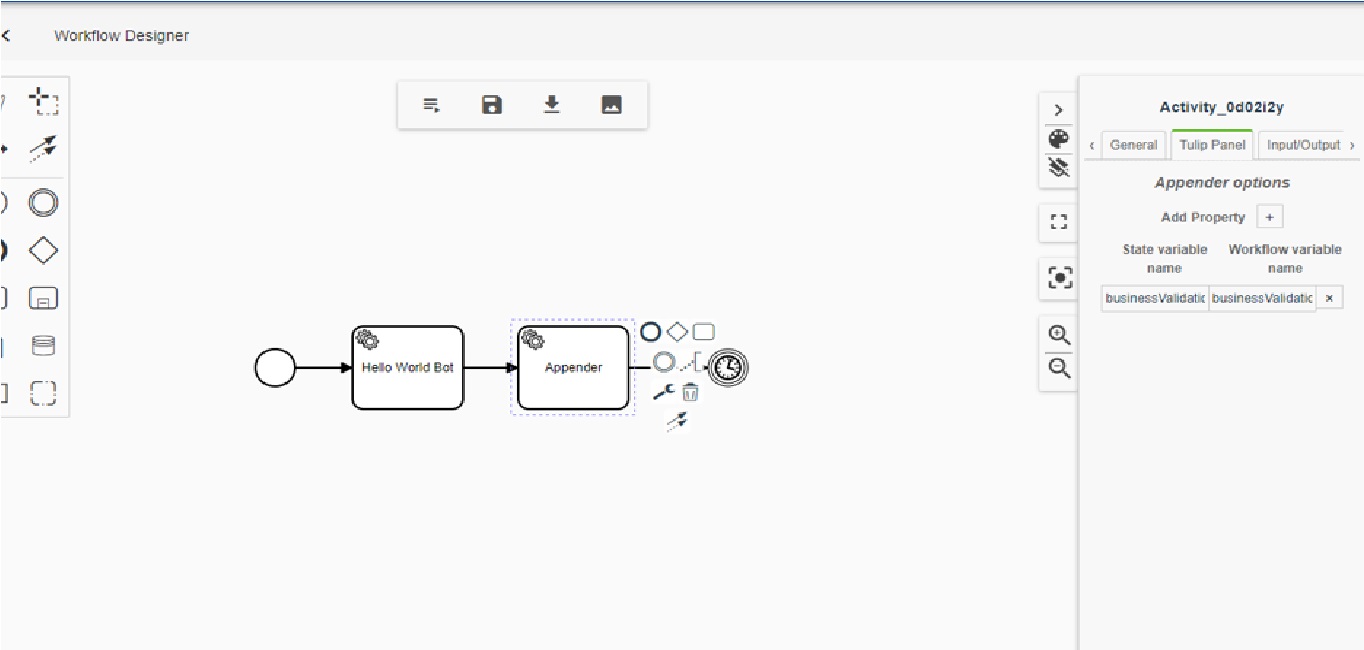
Appender: This converts the state variable to the workflow variable
Step 1: Choose the “Appender” from the “General Panel”
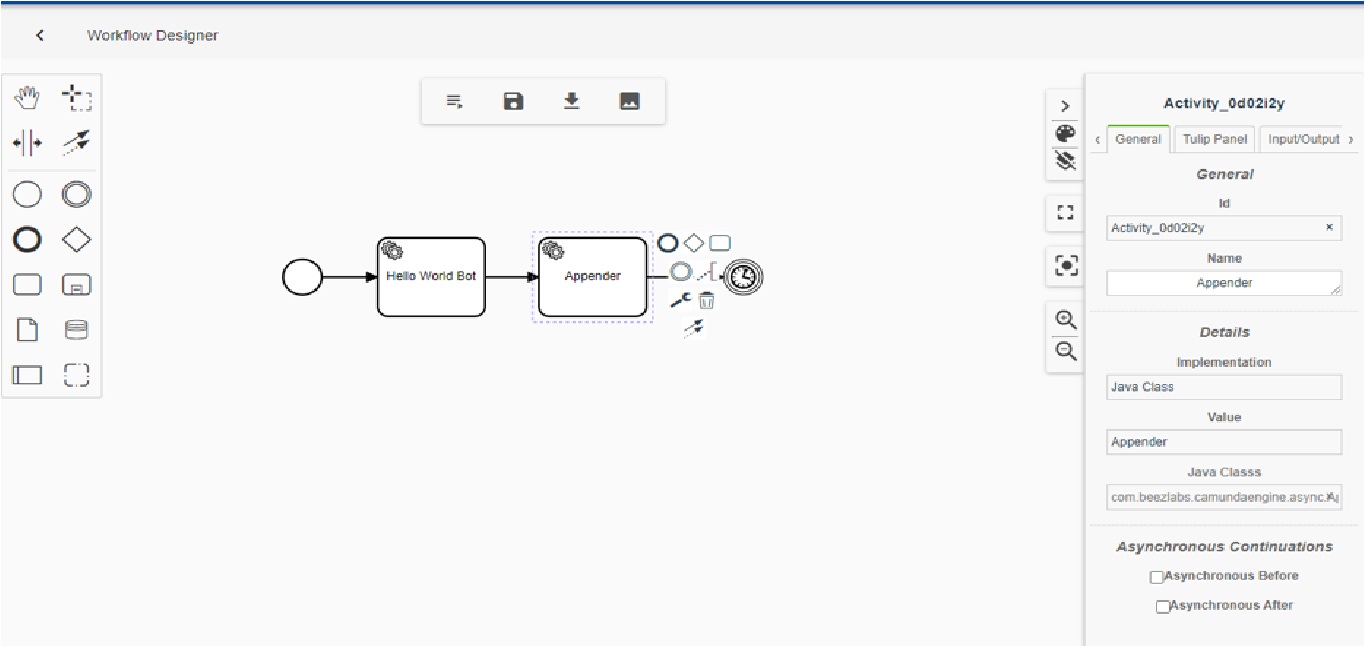
Step 2: Provide the “Workflow Variable Name” and the corresponding “State Variable Name” in the tulip panel
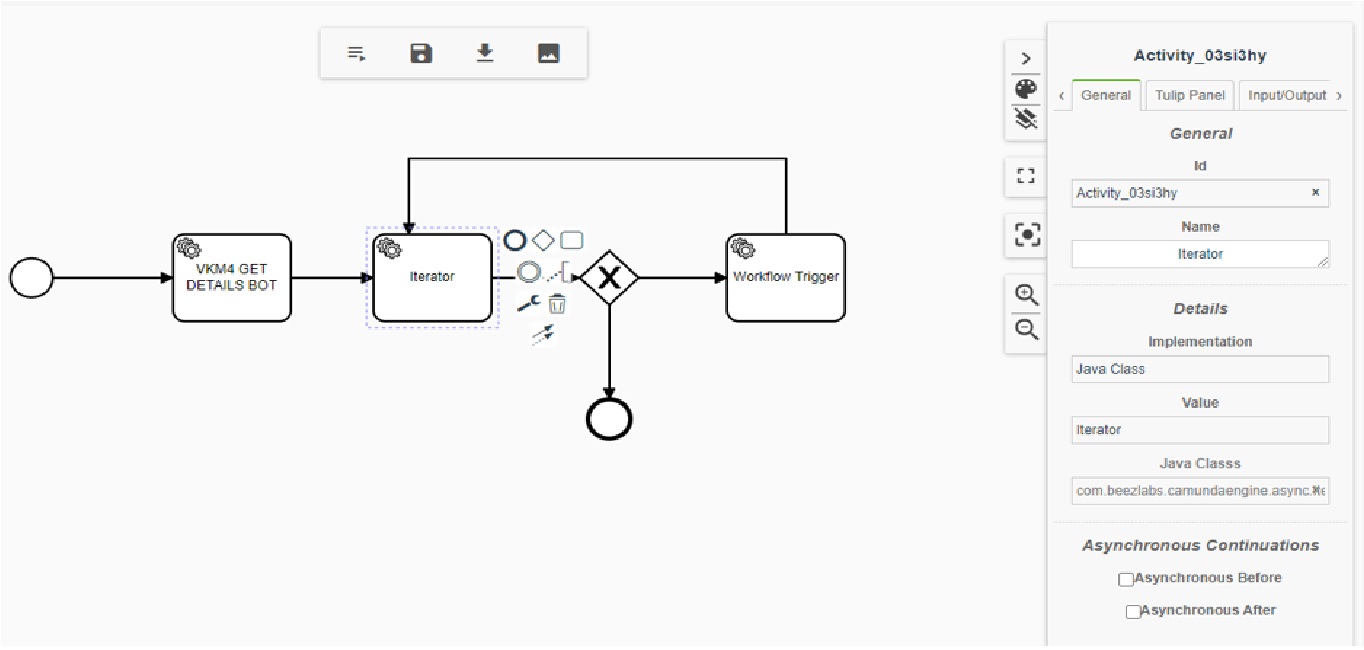
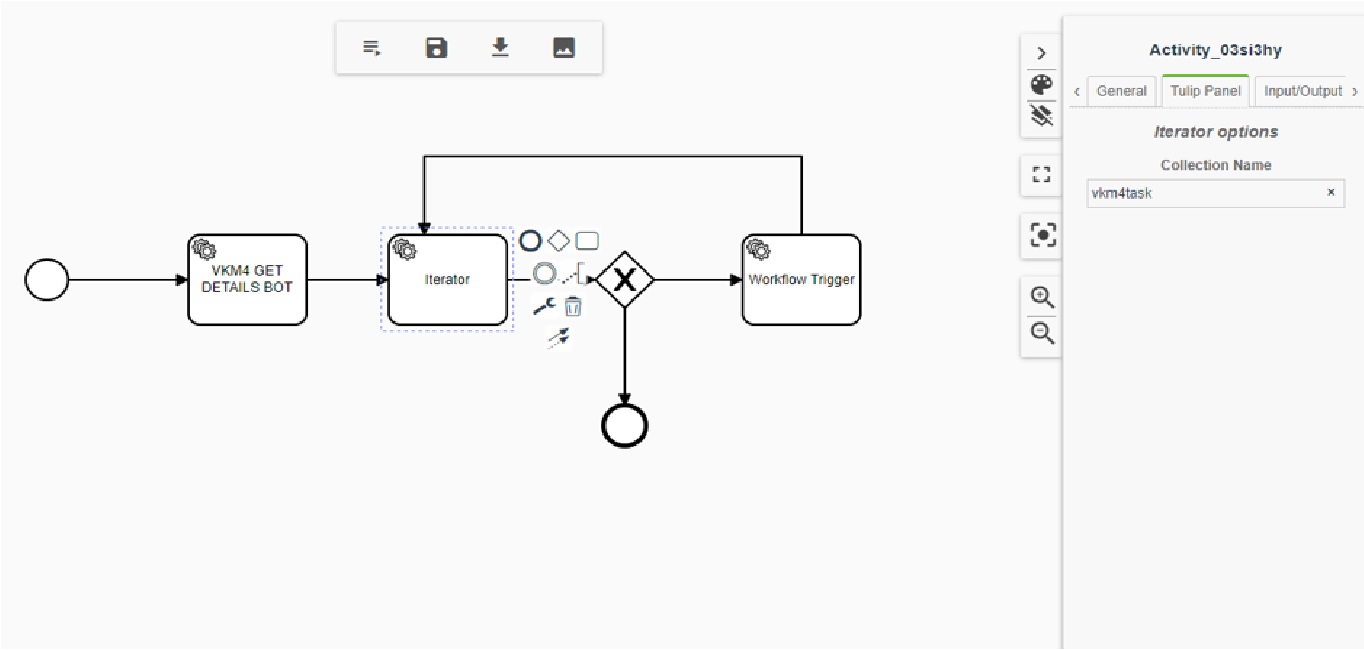
Iterator: This helps to iterate over the list in the workflow
Step 1: Choose the “Iterator” from the “General Panel”
Step 2: Provide the “Collection Name” in the Tulip Panel
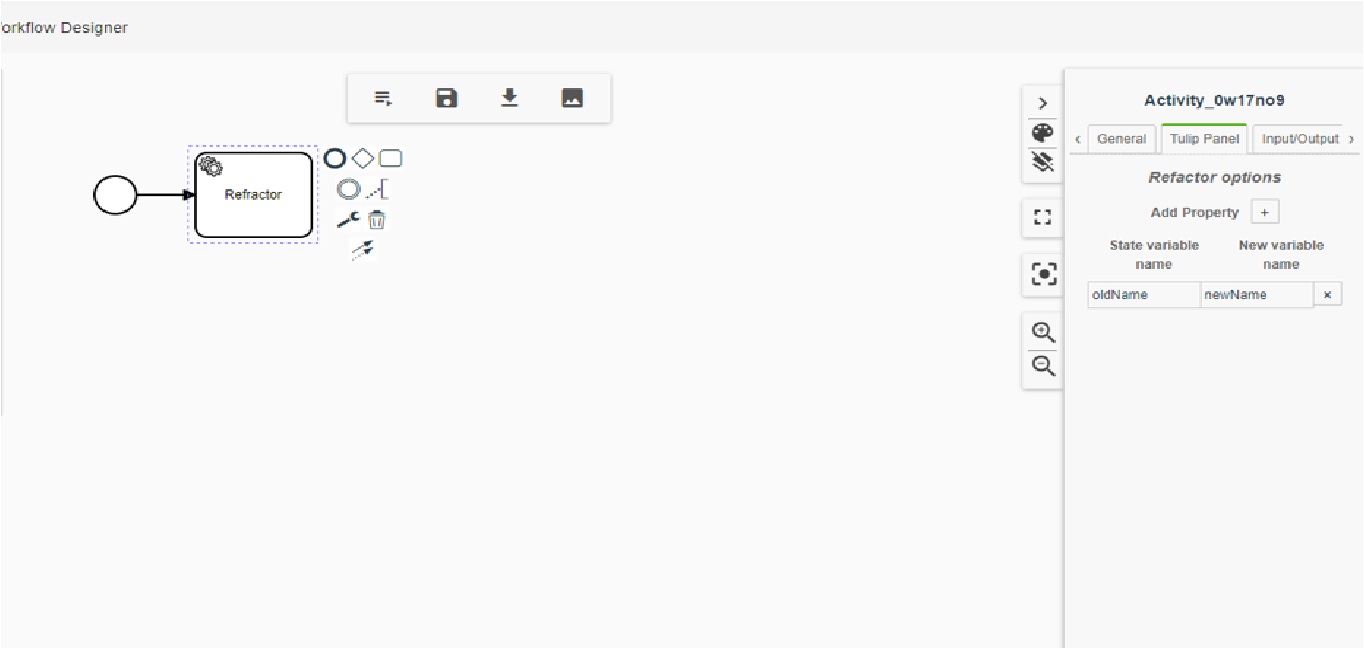
Refractor: This helps in renaming the “State Variable Name” to “New Variable Name”
Step 1: Choose the “Refractor” from the “General Panel”
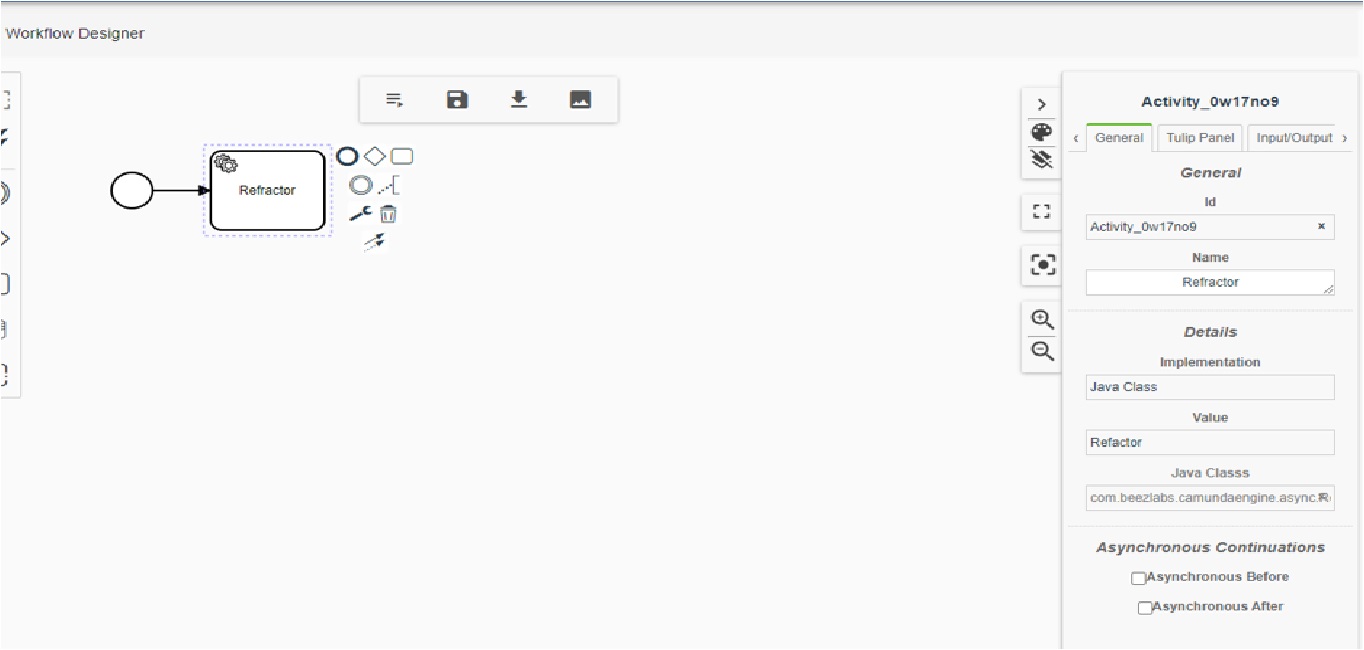
Step 2: Assign the variable names as below
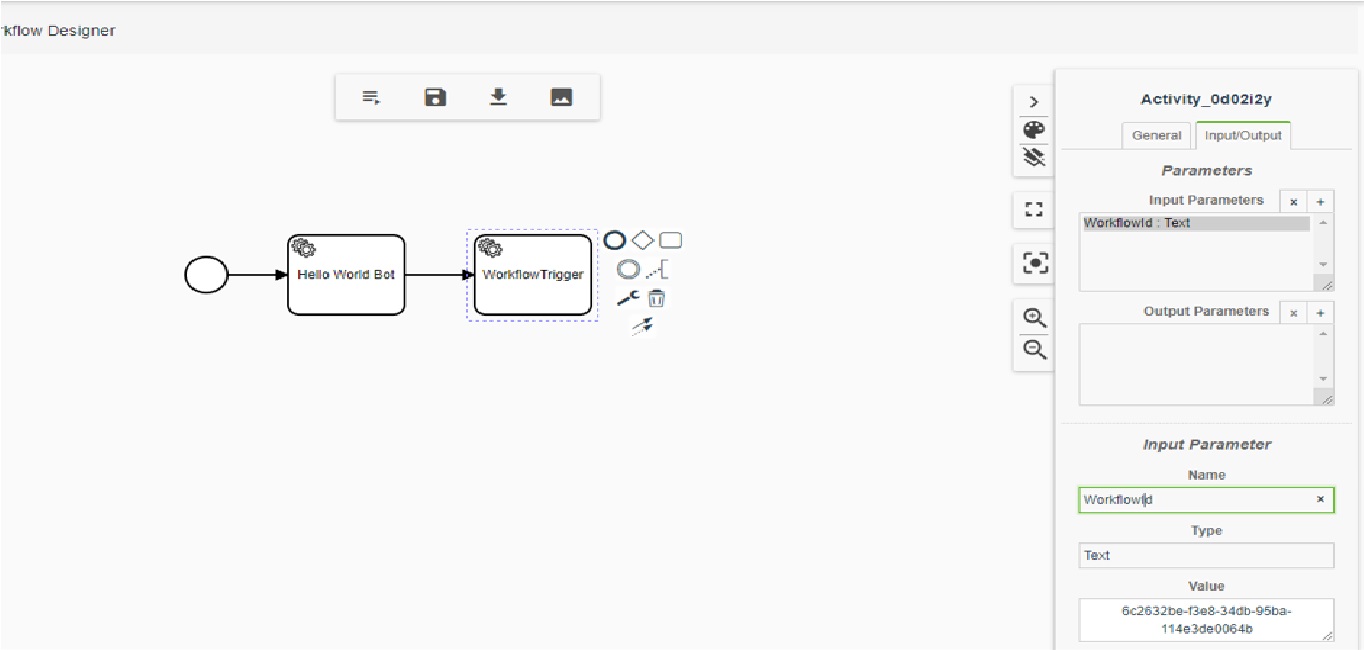
Workflow Trigger: This helps in triggering another workflow from the current workflow using the “Workflow Id”
Step 1: Choose the “Workflow trigger” from the “General Panel”
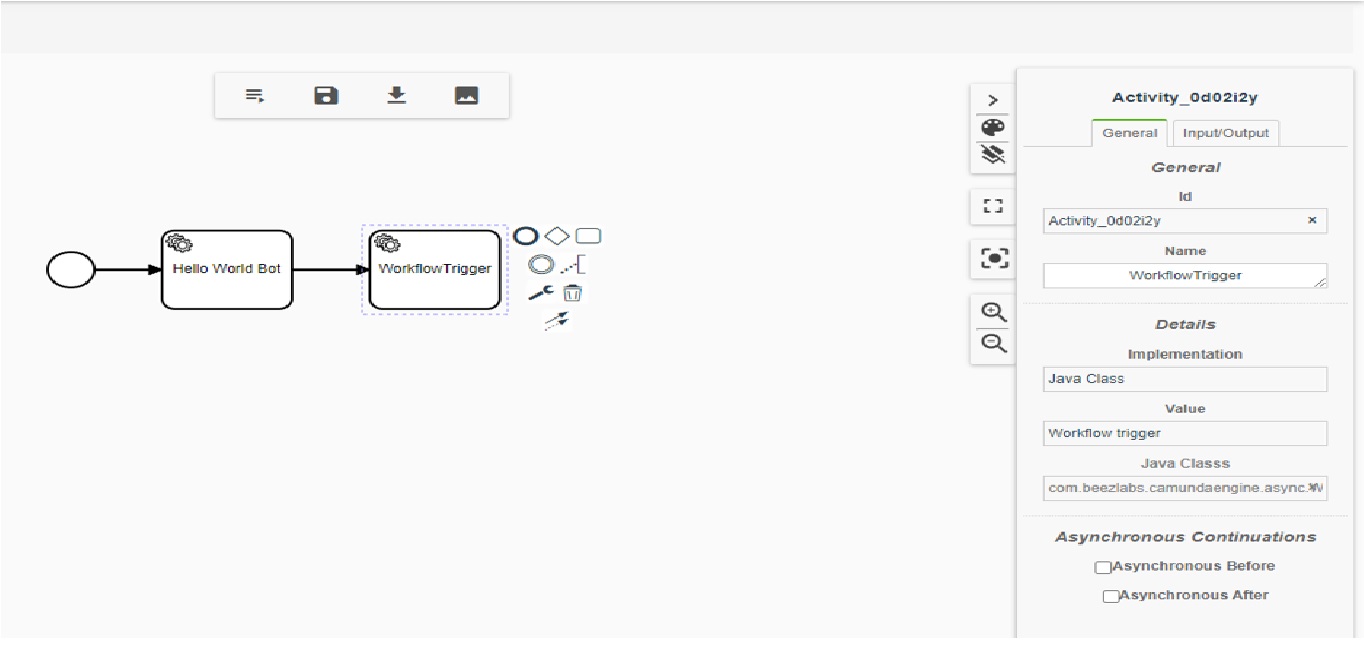
Step 2: Assign the Workflow id in the Input/Output panel
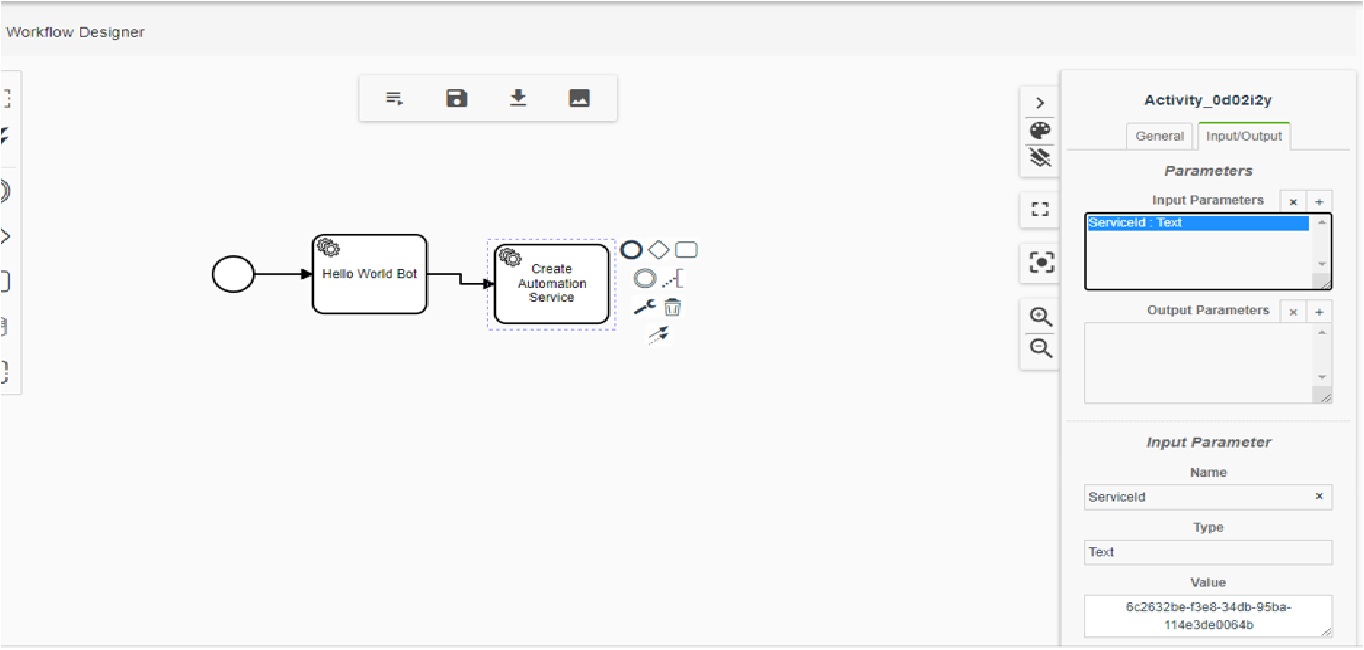
Create Automation Service: This helps in creating automation service from the current workflow using the “service Id”
Step 1: Choose the “Create Automation Service” from the “General Panel”
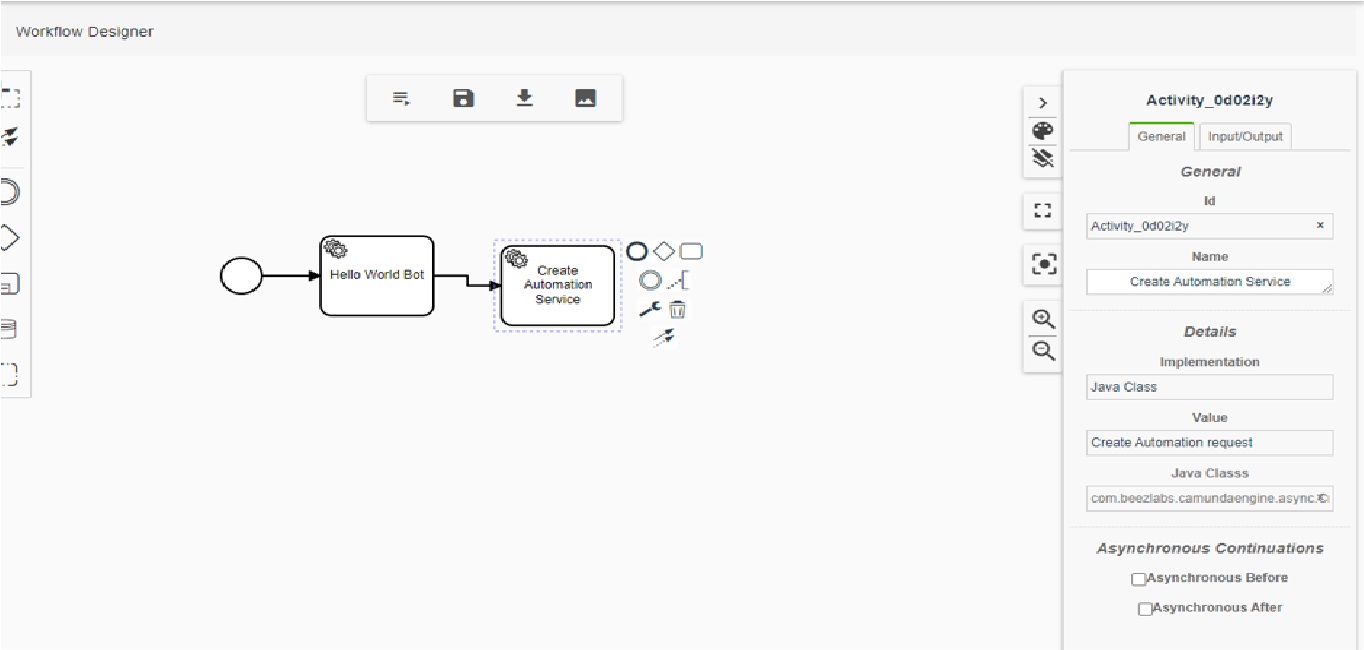
Step 2: Assign the Automation Service id in the Input/Output panel
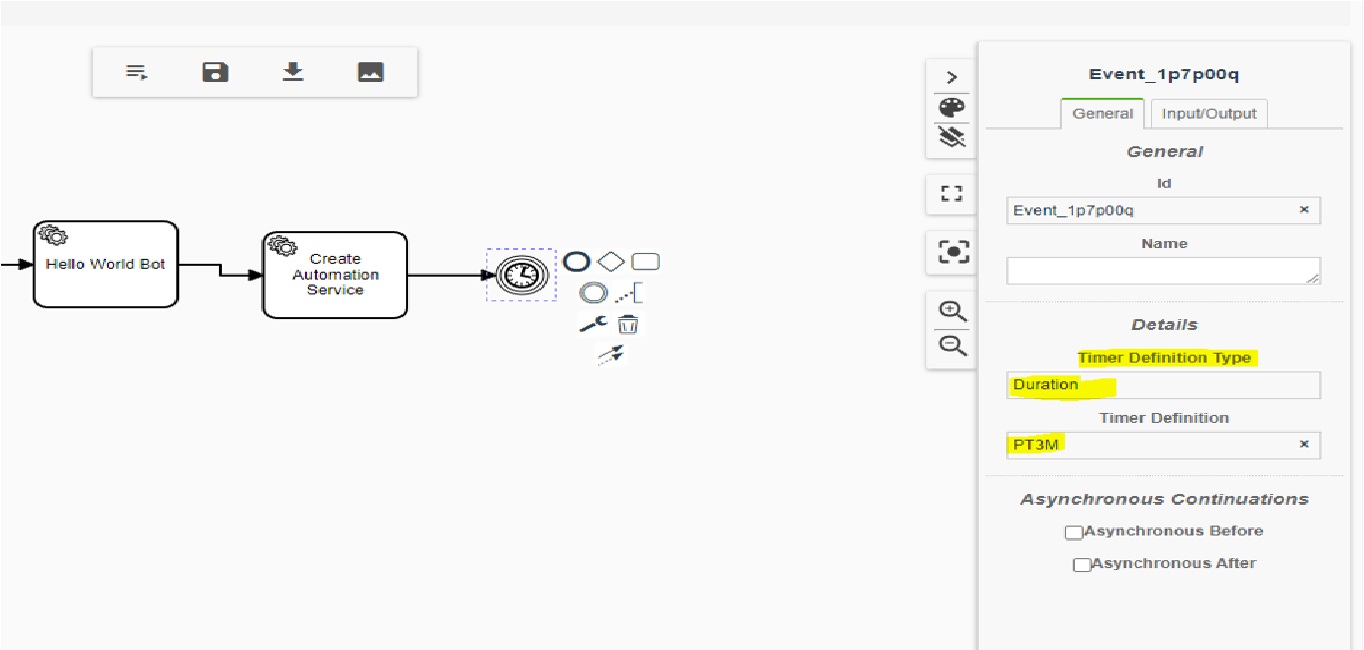
Timer: This helps the workflow execution wait or pause for the certain time based on the configuration